How To
How to Change Steam Username in 3 Fast Step
- April 26, 2021
- Updated: July 2, 2025 at 4:08 AM
When you create a Steam account on Windows, Mac, or Android, we’re sure you aimed for a completely bodacious name. However, you may grow tired of it or think of a better account name in a few years’ time. Don’t worry; learning how to change your Steam username is as easy as pie.
How to Change Steam Username
The beauty of changing your Steam account name is that all your friends will see the updated details immediately. You won’t need to inform all of them about the amendment. It’ll also appear in all the games you play, and it’ll update your achievements.
Step 1: Hover over your name
With Steam open, you’ll see Library in the top menu with your account name to the right. If you hover your mouse over this selection, you’ll see a new list of options appear. Don’t move away from your name; otherwise, it’ll vanish.
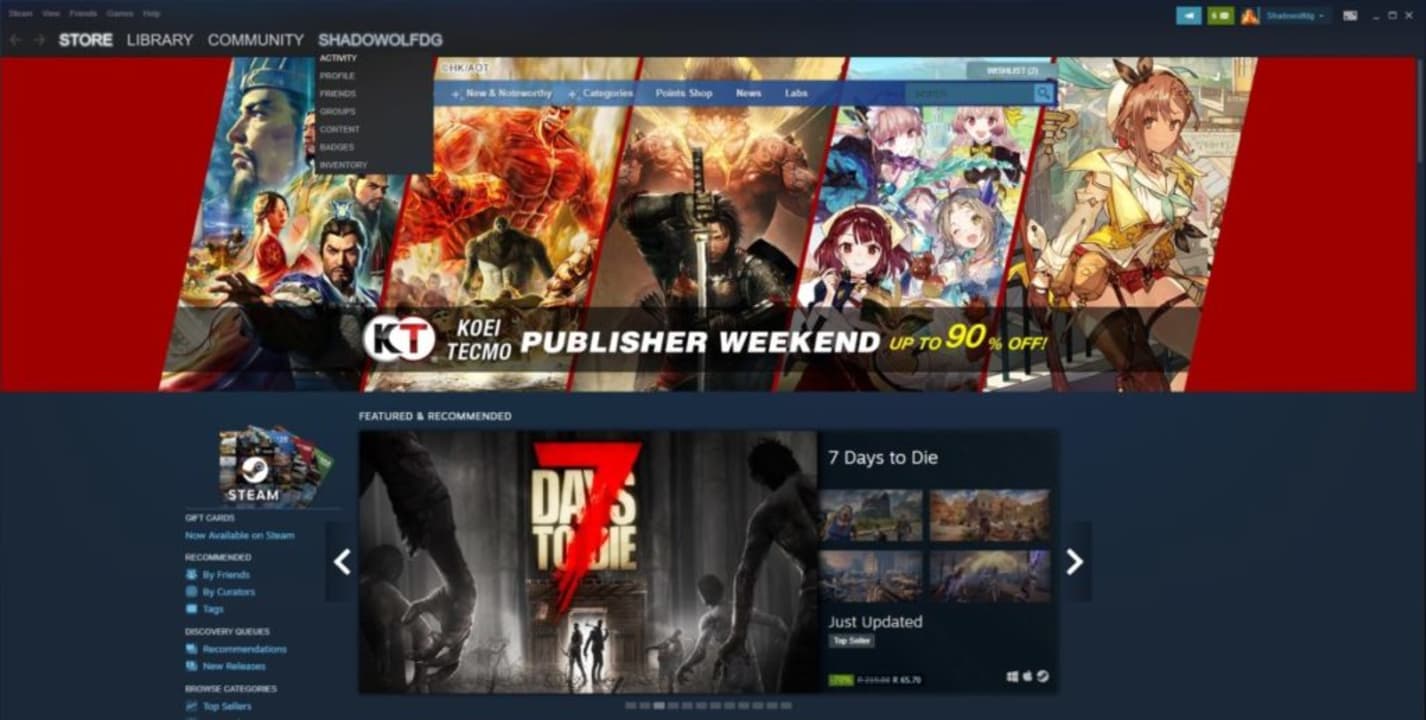
Step 2: Open your profile
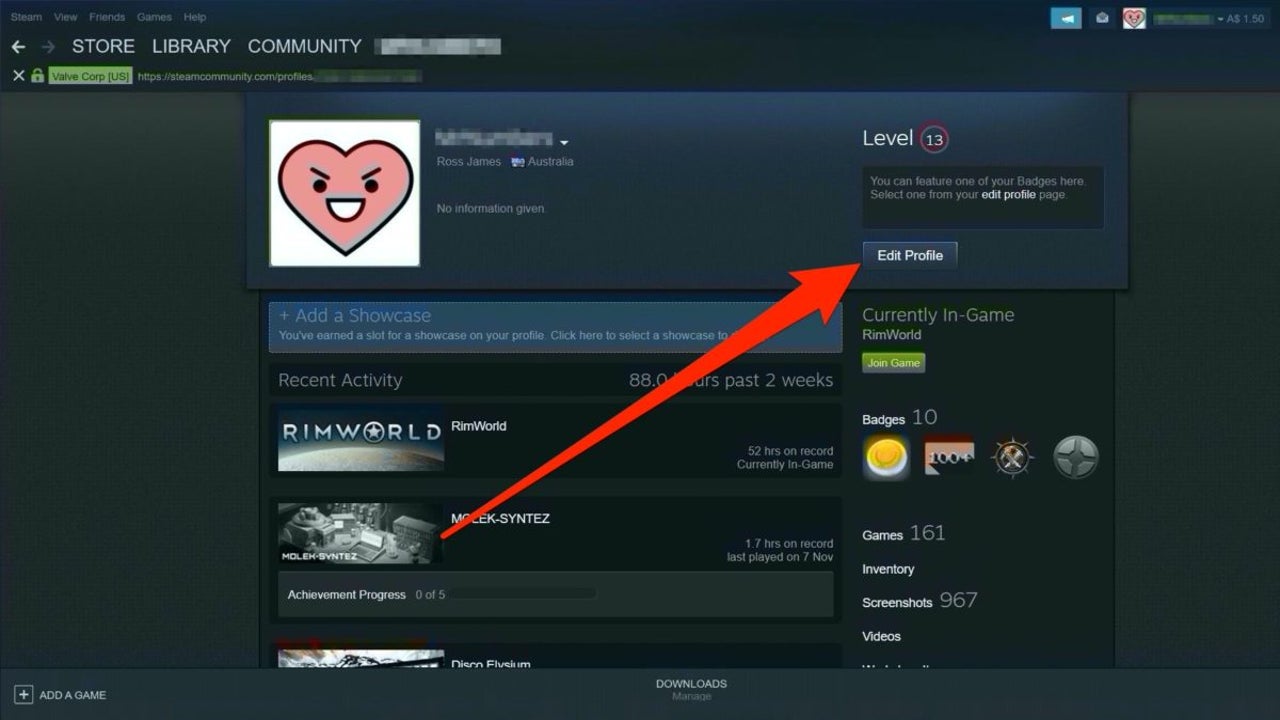
Carefully move onto Profile and click on it. You’ll see all your account details with a banner holding your username, select the ‘Edit profile’ button to the right.
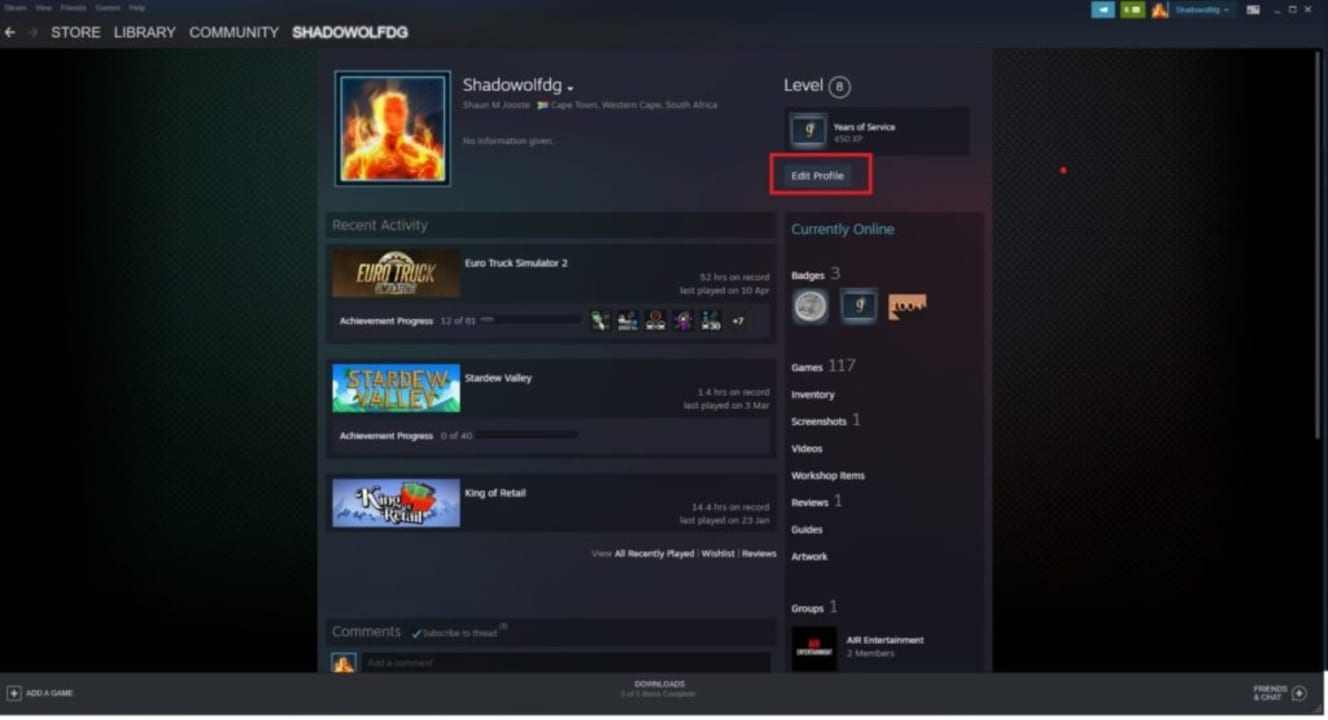
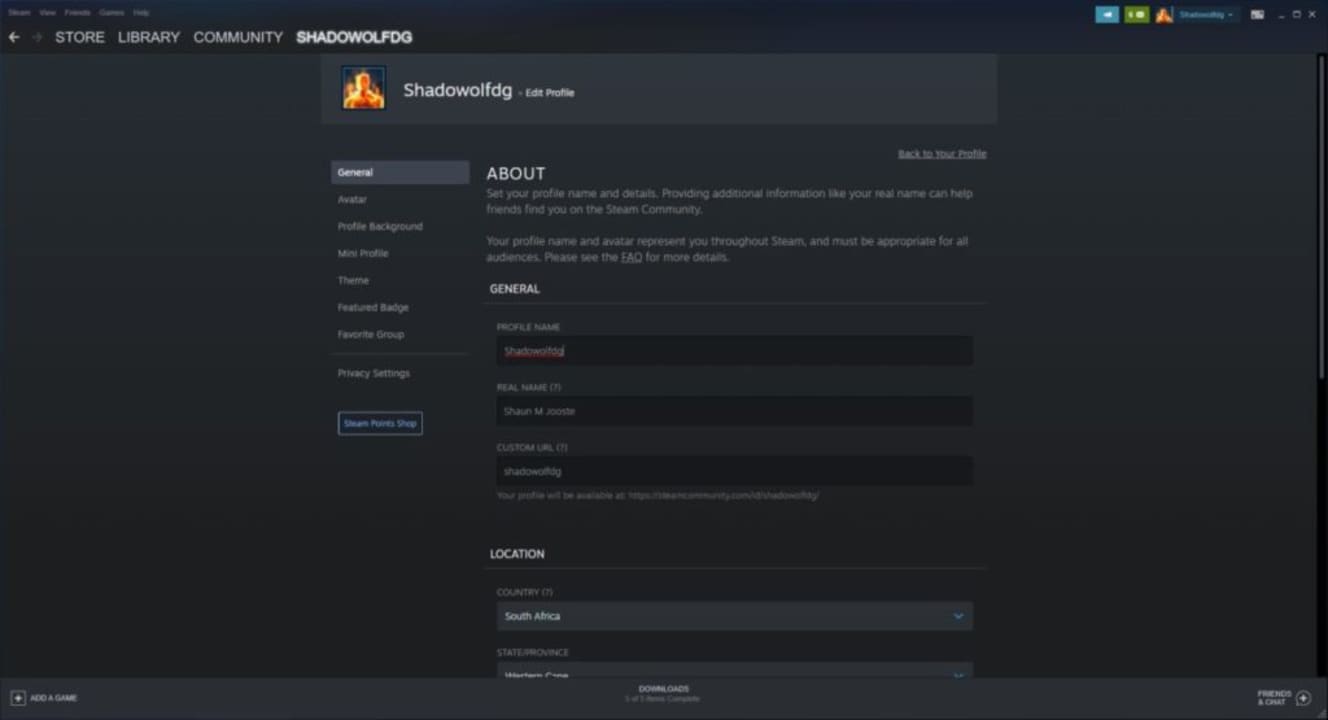
Step 3: Change username
You can now change your Steam account name and other details. When you’re done, click on the Save button at the end. You’ll profile will now have a new name displayed, and it’ll update all your contacts.
What’s in a name?
Steam keeps track of all your usernames you create so that your friends can see who you were before. Some gamers feel uncomfortable with this setting, especially if they have bad reputations. You can clear all aliases on your profile if it makes you uncomfortable.
You’ll also see an alert if you’ve chosen a username that someone already has. In these situations, you can add some numbers at the end or try to be original with some of the letters. The possibilities are endless. Just don’t create hundreds of names in the span of a week; it’s really annoying.

Latest from Shaun M Jooste
You may also like
 News
NewsThis anime is taking social media by storm and is finally premiering on Netflix
Read more
 News
NewsMeta has a problem with its AI: it doesn't interest even its own workers
Read more
 News
NewsGoogle will update the Google Ads API monthly starting in 2026
Read more
 News
NewsToday everyone wants to play 'Silksong', but when 'Hollow Knight' was first announced, no one believed in its success
Read more
 News
NewsIt has a 78 on Metacritic, but don't be fooled: this video game will be considered a cult classic that you shouldn't miss in no time
Read more
 News
NewsEven the creator of Devil May Cry cannot make the game of his dreams, he has confirmed in a recent interview
Read more